
Guide to Installing and Configuring Workday Studio
Last updated on Nov 11, 2026
Welcome to Workday Studio and Enterprise Integration Architecture
Workday Studio is the most advanced and flexible integrated development environment (IDE) in the Workday Integration Cloud ecosystem. Tools like the Enterprise Interface Builder (EIB) are for simple, single-source, single-transformation configurations and Cloud Connectors are for packaged enterprise scenarios, but Workday Studio is designed for complex, high-volume, multi-source data transactions. It enables integration architects, administrators and developers to create complex inbound and outbound integrations that need custom logic, complex routing, advanced error handling and powerful data transformations.
Workday Studio is built on the open-source Eclipse platform and provides a familiar desktop IDE experience, along with a specialised set of visual tooling components, flow control components, and powerful debugging capabilities. Developers are able to visually drag and drop connectors, splitters, aggregators, transformation engines and routing components onto a design canvas, and write custom integration logic without getting bogged down in boilerplate plumbing code.
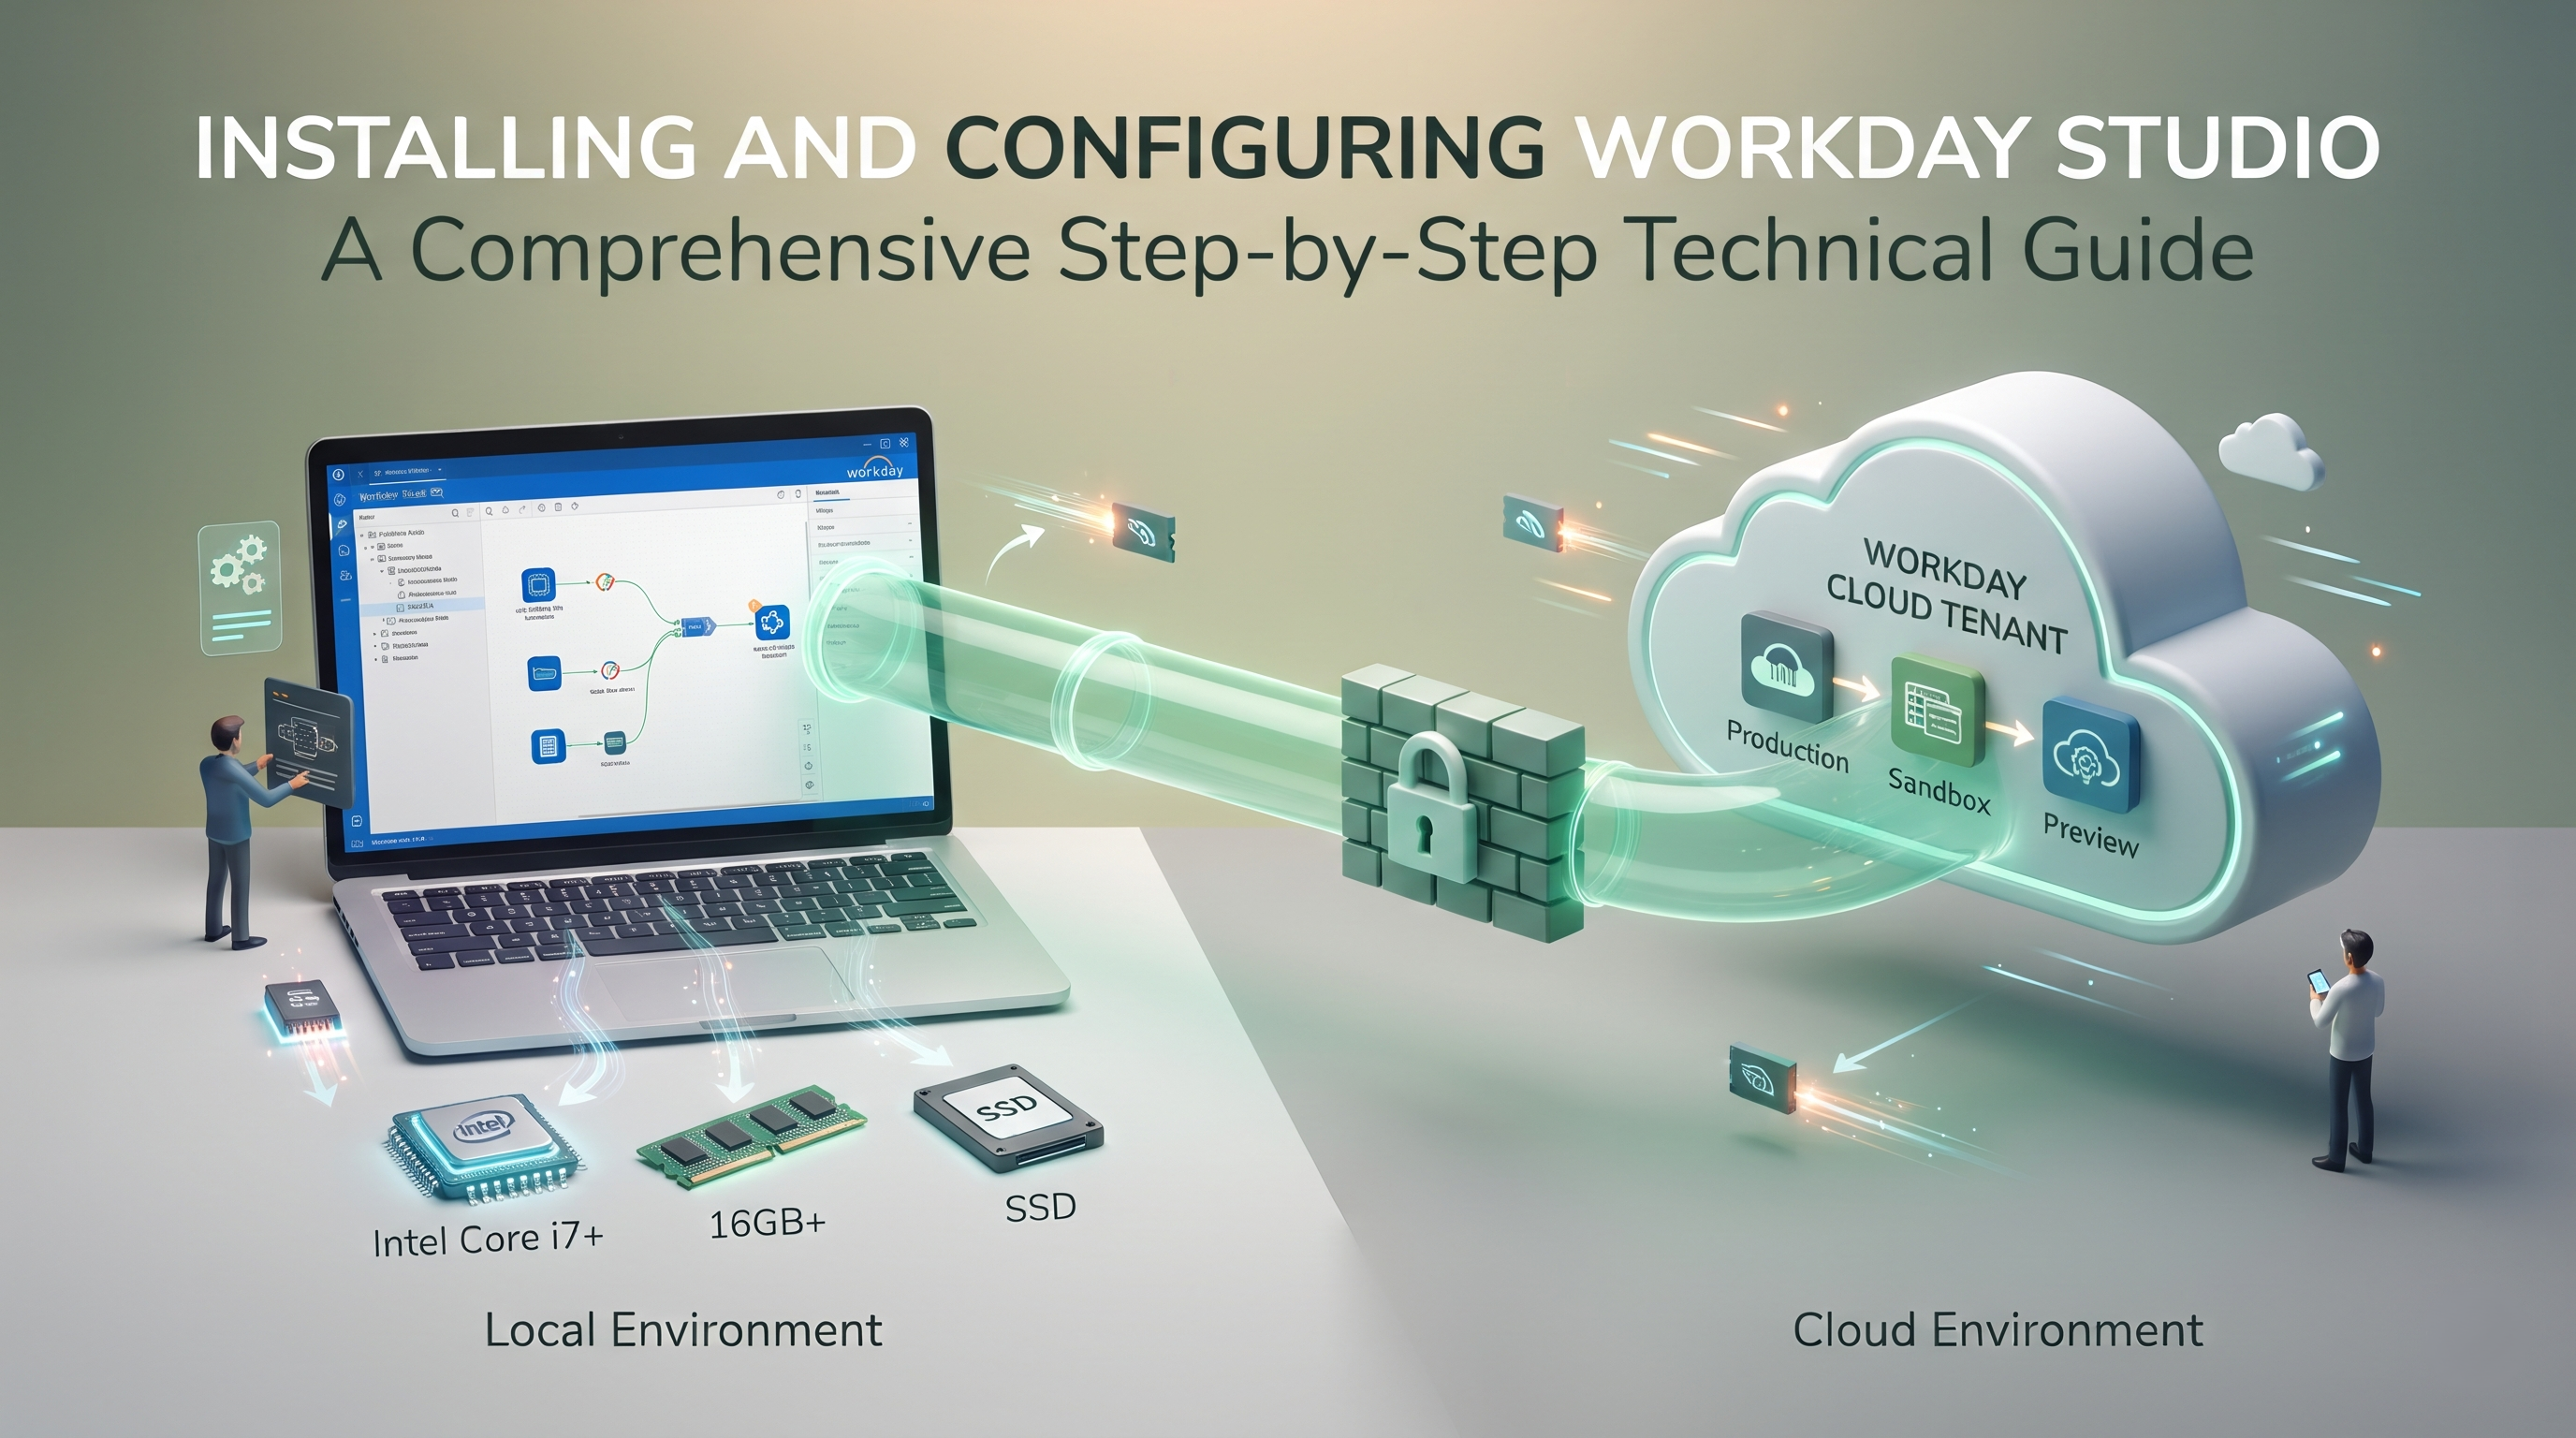
It is important to understand where Workday Studio sits in the larger enterprise environment before beginning an implementation project. Workday Studio is a client application that runs locally on your workstation and securely communicates over the internet with your specified Workday cloud tenants. It performs bulk data exchanges and connects directly to secure tenant endpoints, so getting the setup right calls for careful coordination of OS prerequisites, Java runtimes, environment variables, security certificates, firewall configurations and workspace directories. This complete guide will walk you through all the technical details you need to install, configure, verify and master Workday Studio from scratch.
Hardware and Software Requirements
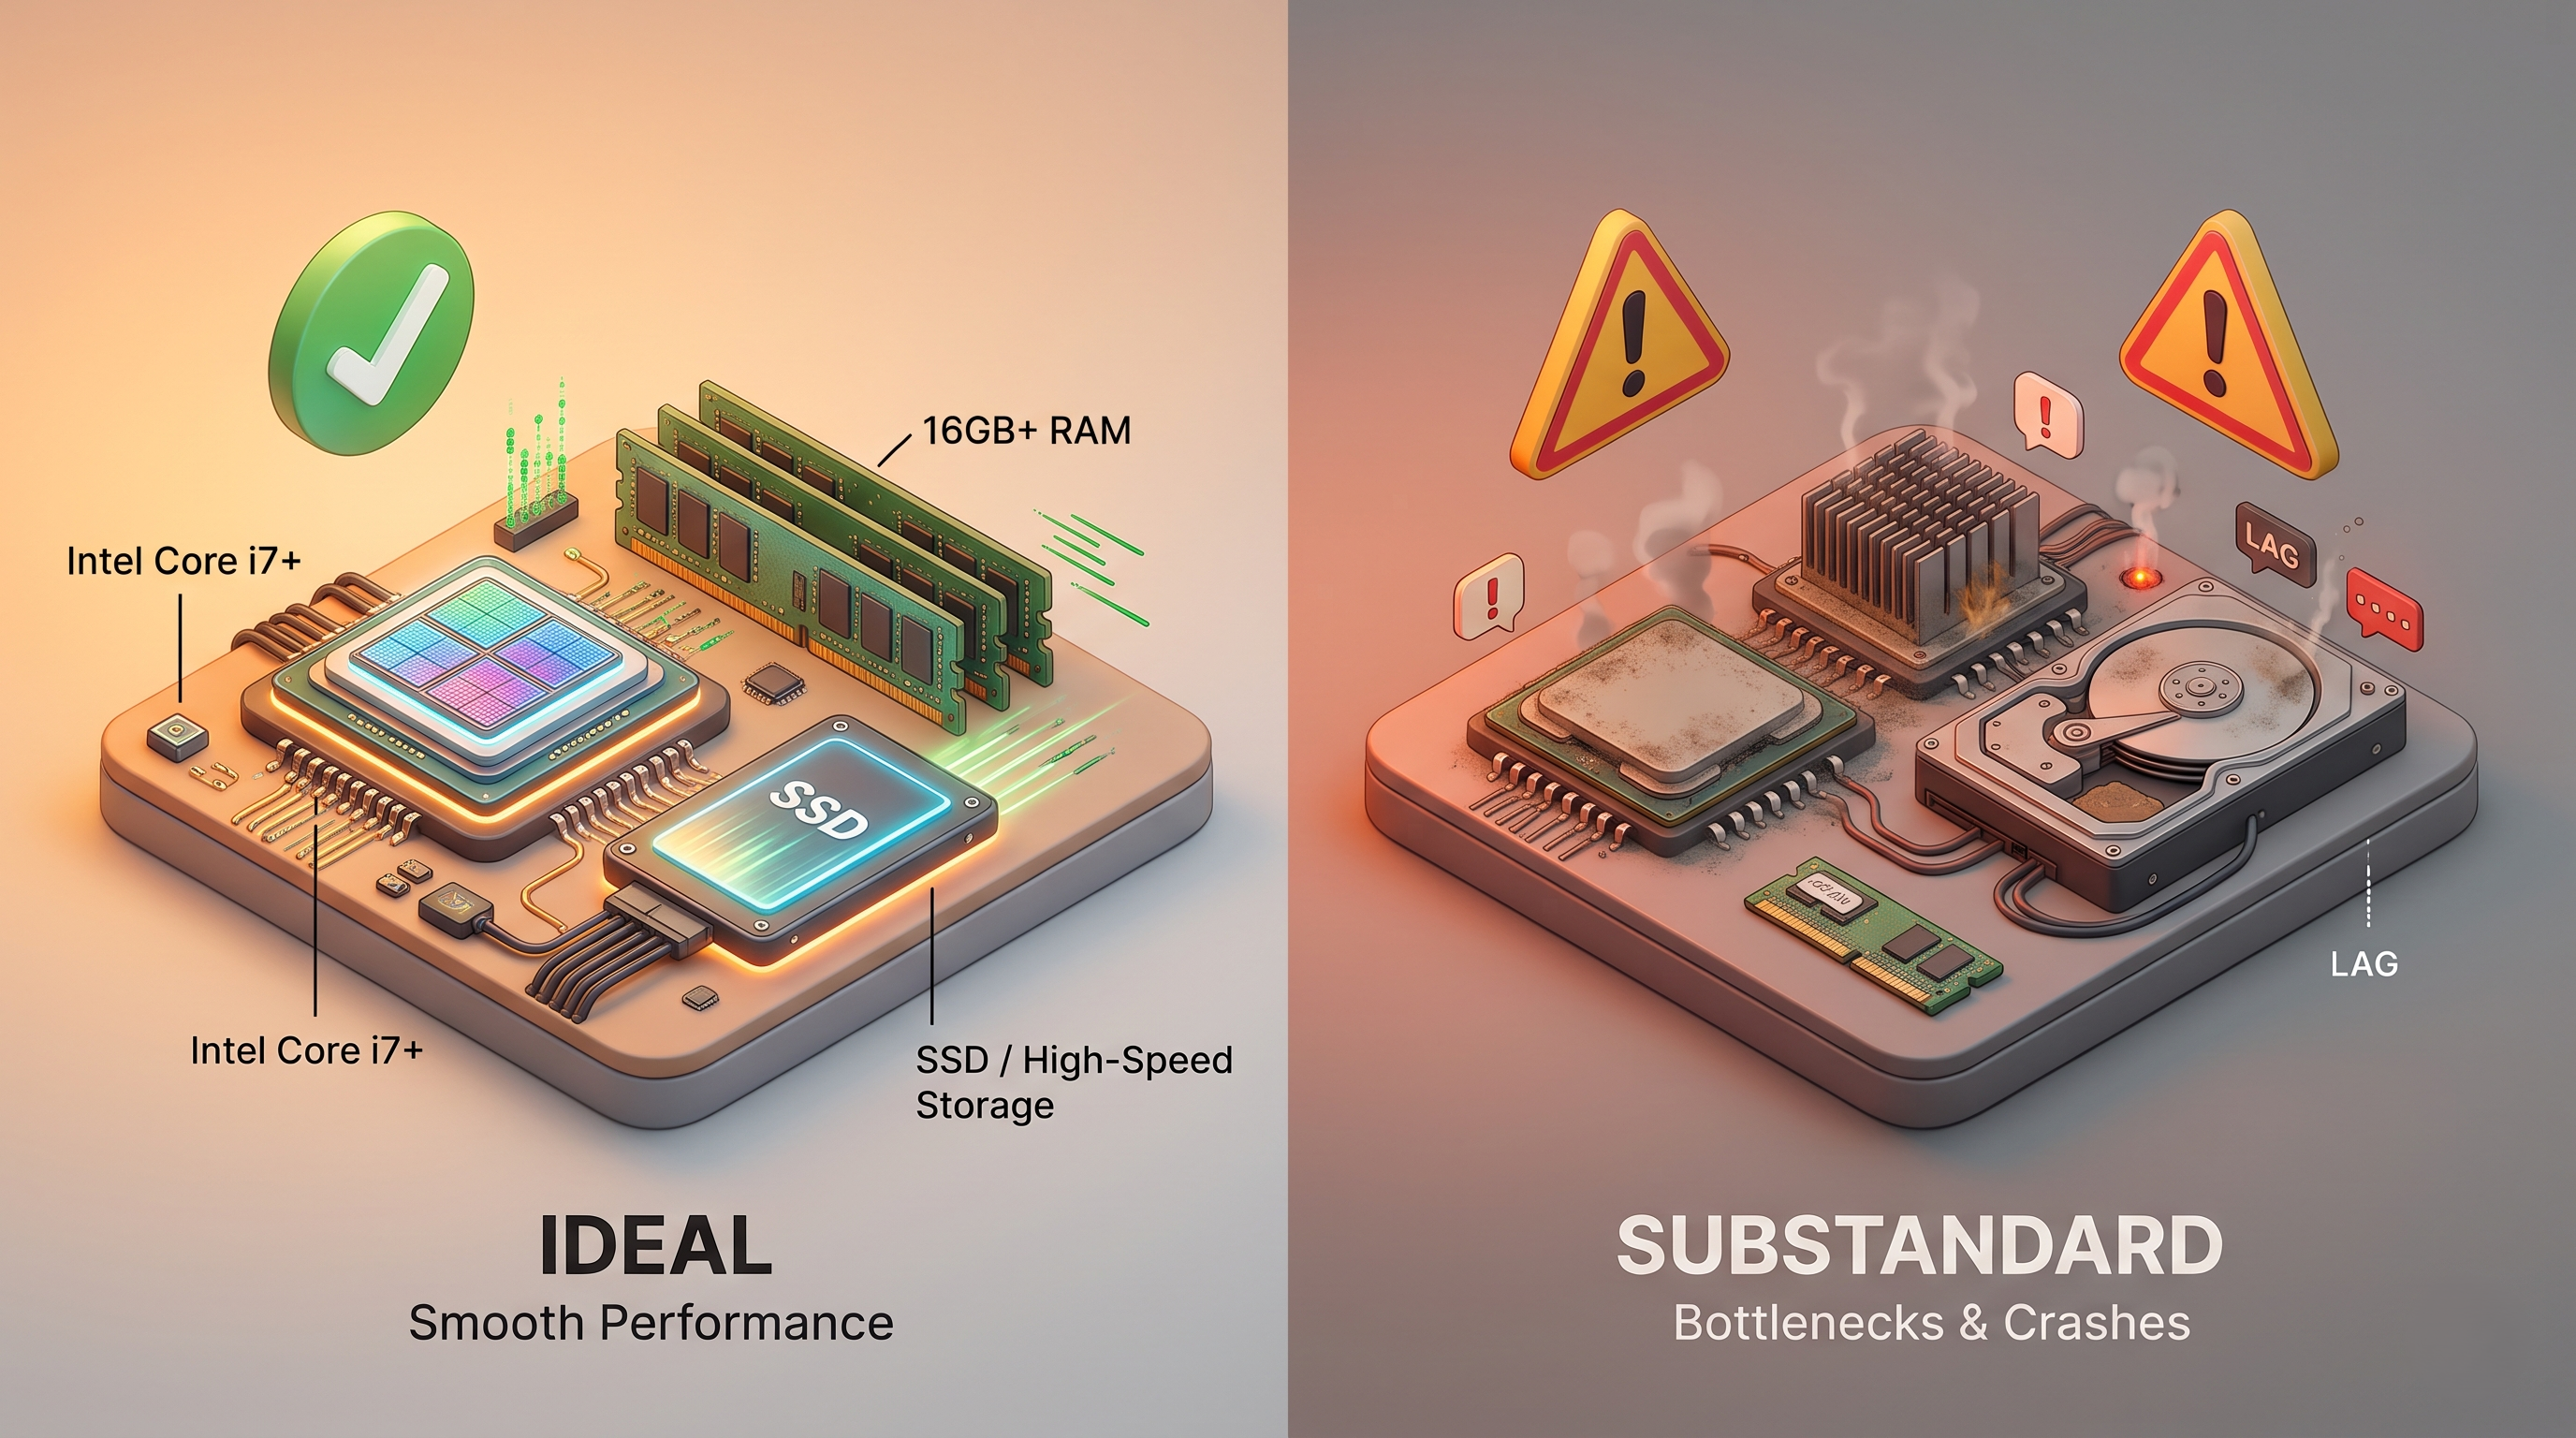
Before you download the installation media, your local machine must meet certain technical baselines to ensure stable performance. Workday Studio handles large XML data structures, memory intensive transformations, and real time debug connections. Thus, having sufficient hardware resources and the corresponding software dependencies in place will prevent aggravating bottlenecks in the development process.
Hardware Specs
Your local development machine should have an Intel Core i7 processor or equivalent modern multi-core architecture for smooth execution of the IDE and embedded virtual machines. Minimum of 8 GB of physical RAM is highly recommended, though the application will start on systems with less memory if you avoid heavy multi-tasking. Ensure that you have at least 2 GB of free space on your local disc for application binaries, temporary build artefacts, project repositories, and local logging files. Screen resolution: 1280 by 1024 pixels or higher is recommended to comfortably view the multi-pane layout, properties views, and visual integration blueprints without excessive scrolling.
Software and Runtime Dependencies
Workday Studio is tightly coupled to specific Java Runtime Environments (JREs) and Java Development Kits (JDKs). Workday Studio does not support dual-version runtime compatibility with modern standards based on the specific software release version you deploy. Modern releases typically require both a java 17 environment and a java 8 environment.
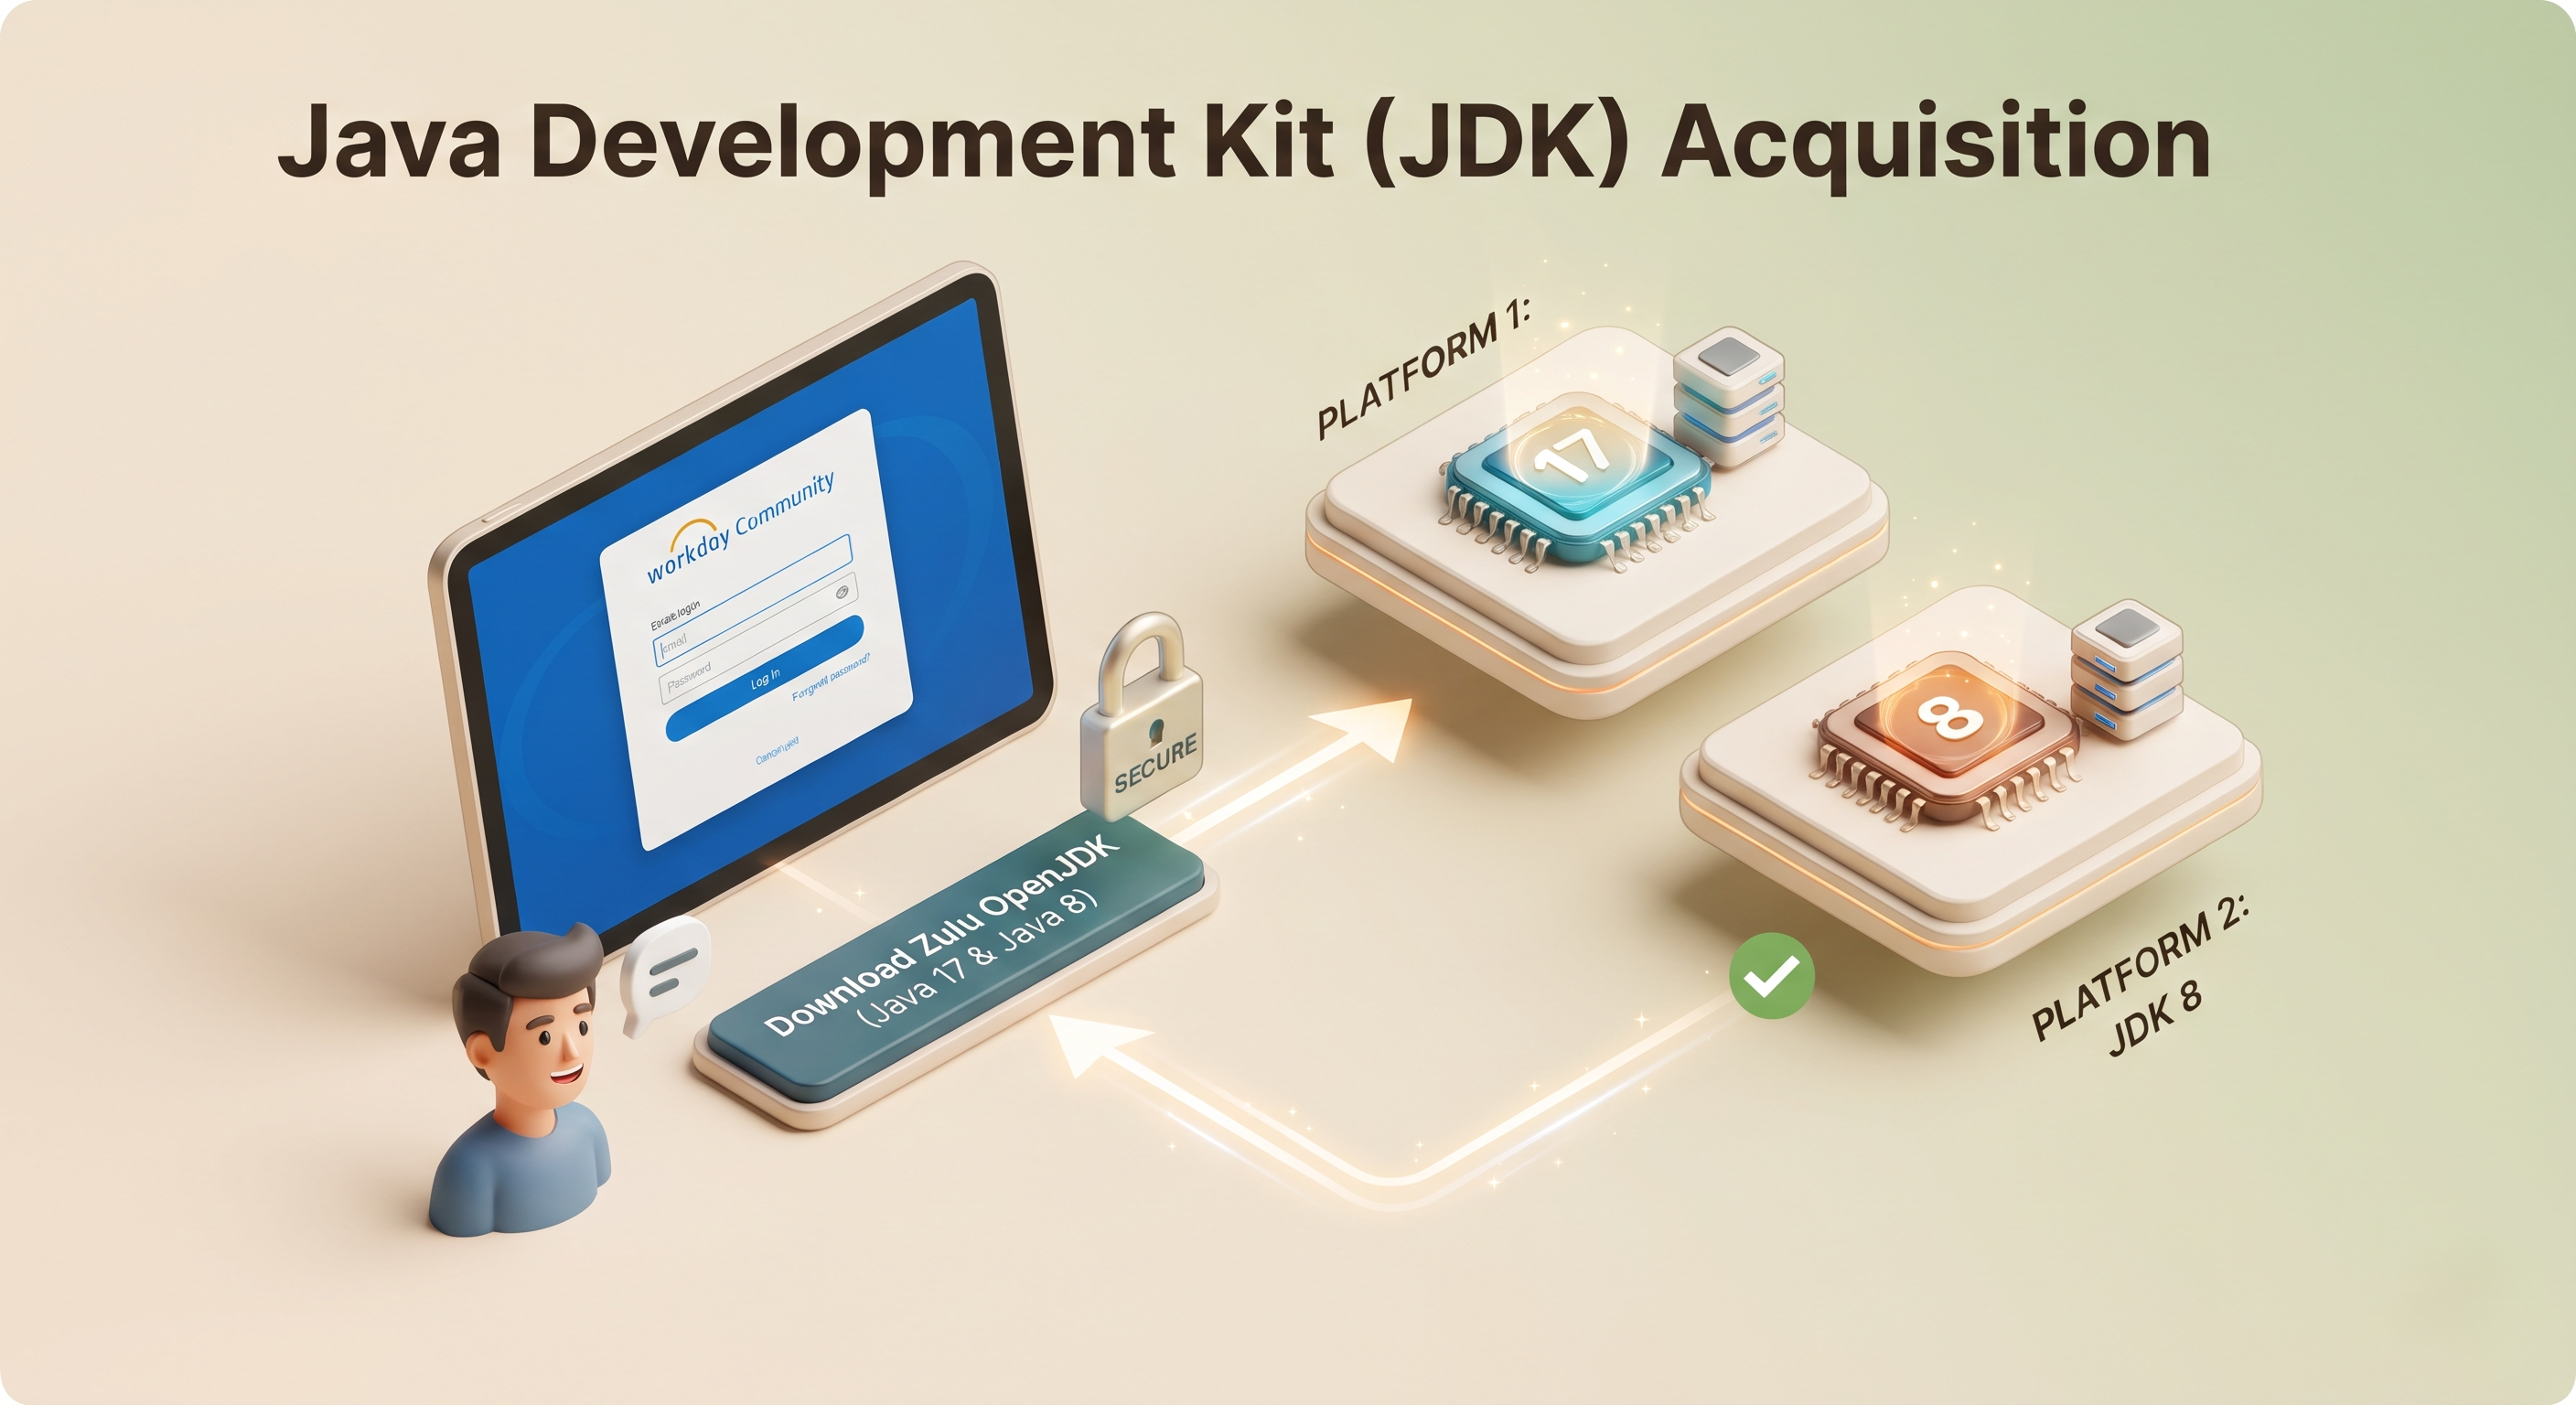
You will need to obtain the correct JDK distributions for the architecture of your underlying operating system. If you are on Windows x64, you will need the builds for the x64 architecture. If you're developing on an Apple Silicon Mac, you'll need to specifically source ARM-compatible OpenJDK builds instead of legacy x86_64 binaries. Architecture mismatches will cause fatal Java Virtual Machine crashes on launch. Zulu OpenJDK is an open-source distribution offering reliable certified builds for Java 8 and Java 17, and that fits well into the Eclipse foundation.
Obtain the installation media
Workday Studio binaries are delivered via official Workday-managed secure channels. The tool interfaces directly with enterprise financial and human capital management data, so avoid unauthorised mirrors and unverified third-party downloads at all costs.
To get the official installation packages, you need to log into the Workday Community portal with your corporate credentials. Generally, you must be an active customer or partner with the proper entitlement permissions granted by your organization’s Workday security administrator to access the developer and training libraries. In the Community portal, navigate to either the integration training resources or the Workday Studio download center.
Choose the installer package appropriate for your operating system platform. Separate installation executables for Microsoft Windows (64-bit) and macOS are provided. Download the installer to a temporary directory on your local machine, and before you start the setup wizard, check that the file hash or download completion status indicates that the transfer was not corrupted.
This guide shall help you in learning all the technicalities involved in the installation, configuration, testing, and mastering of Workday Studio. In case you wish to learn more about Workday Studio, you can get enrolled for professional training courses offered by OnlineITGuru that shall allow you to learn workday studio effectively through real-life scenarios.
Step by Step Installation Procedure
With your hardware verified, Java runtimes installed and the official installer downloaded you are ready to run the installation wizard. Workday Studio modifies program directories and logs local workspace preferences, so generally you need administrative rights on your computer.
Installation Environment Preparation
First, you need to know where your desired Java directories are located on your local drive. Make a note of the exact file paths to your Java 17 and Java 8 JDKs. The Studio installation wizard will ask you to point to these folders to configure the internal compiler and runtime properties. If you are installing on a Windows operating system, right-click the downloaded installer executable and select the option to run as administrator. This avoids permission errors when the wizard tries to write files into protected system folders like Program Files.
Running the Setup Wizard
Open the installer package to launch the setup welcome window. After the welcome screen, read the software license agreement and tick the box to formally accept the terms and conditions.
The wizard will ask you to specify the path to your Java Virtual Machine integration. Browse to your main JDK 17 installation directory and choose it. The installer will verify the selected path to ensure the embedded JVM binaries meet the IDE’s structural requirements. Validate the JVM details and proceed after verification.
Then the installation wizard will offer you optional tool packs, including the Workday Report Designer component to create BIRT-based layouts. If your development scope involves custom reporting and advanced output formatting, then choose the Report Designer pack for parallel installation. Then, choose the folder on your local hard drive where the core Workday Studio application files should be unpacked. Confirm your preferences, let the installer copy the needed plugin archives and configuration files to your disc, and finish the last wizard prompt to finish the installation.
Workspace Setup After Installing
When you first open Workday Studio, the application prompts you to define a workspace. Understanding how workspaces work is important for a clean, secure and performant development lifecycle.
Setting Up and Managing Workspaces
A workspace is a special folder on your local hard drive where Workday Studio stores all your integration projects, local metadata, visual layouts, and connection preferences. Here are some of the golden rules that you need to follow in order to establish the proper architecture of a workspace:
Never have your workspace directory in the Workday Studio core program installation folder. Updates/patches overwrite application directories and destroy local project data.
Do not store workspaces on network-attached drives or shared server volumes; the heavy disc read-and-write activity of local builds and debug sessions will be a performance killer.
This is a very exciting time for me and I'm very happy to be joining the company. The debugger underneath Workday Studio uses space characters as syntax delimiters, so if your path has a space in it, your ability to do local debugging will be completely broken.
Industry best practice for integration consultants and enterprise developers is a strict one workspace per customer rule. Combining several different customers’ integration projects and tenant connection parameters in the same workspace has very serious operational risks. For instance deploying the custom integration package of a customer by mistake to another customer’s production tenant. Organise your projects in a separate root folder for each unique organization you support to keep them neatly separated.
Set up Java Compliance and Runtimes in Studio
After your workspace is initialised and the IDE dashboard is displayed, you must ensure that the Java compiler compliance levels and runtime environments are aligned with Workday’s execution standards. Open the application menu and select the global preferences panel.
Locate the Java configuration tree and click on the submenu for installed runtime environments.
Make sure that your Java 8 runtime is properly registered as an active installed virtual machine. If Java 8 is not listed, add it manually by browsing to your local Java 8 JDK directory and declaring it as a standard virtual machine type . Then, check the execution environments panel to confirm the target environment is a perfect compilation match to JavaSE-1.8. Finally, go to Java Compiler settings and make sure that your JDK compiler compliance level is explicitly set to 1.8 before applying and closing the preferences window.
Security Setup and Tenant Connection
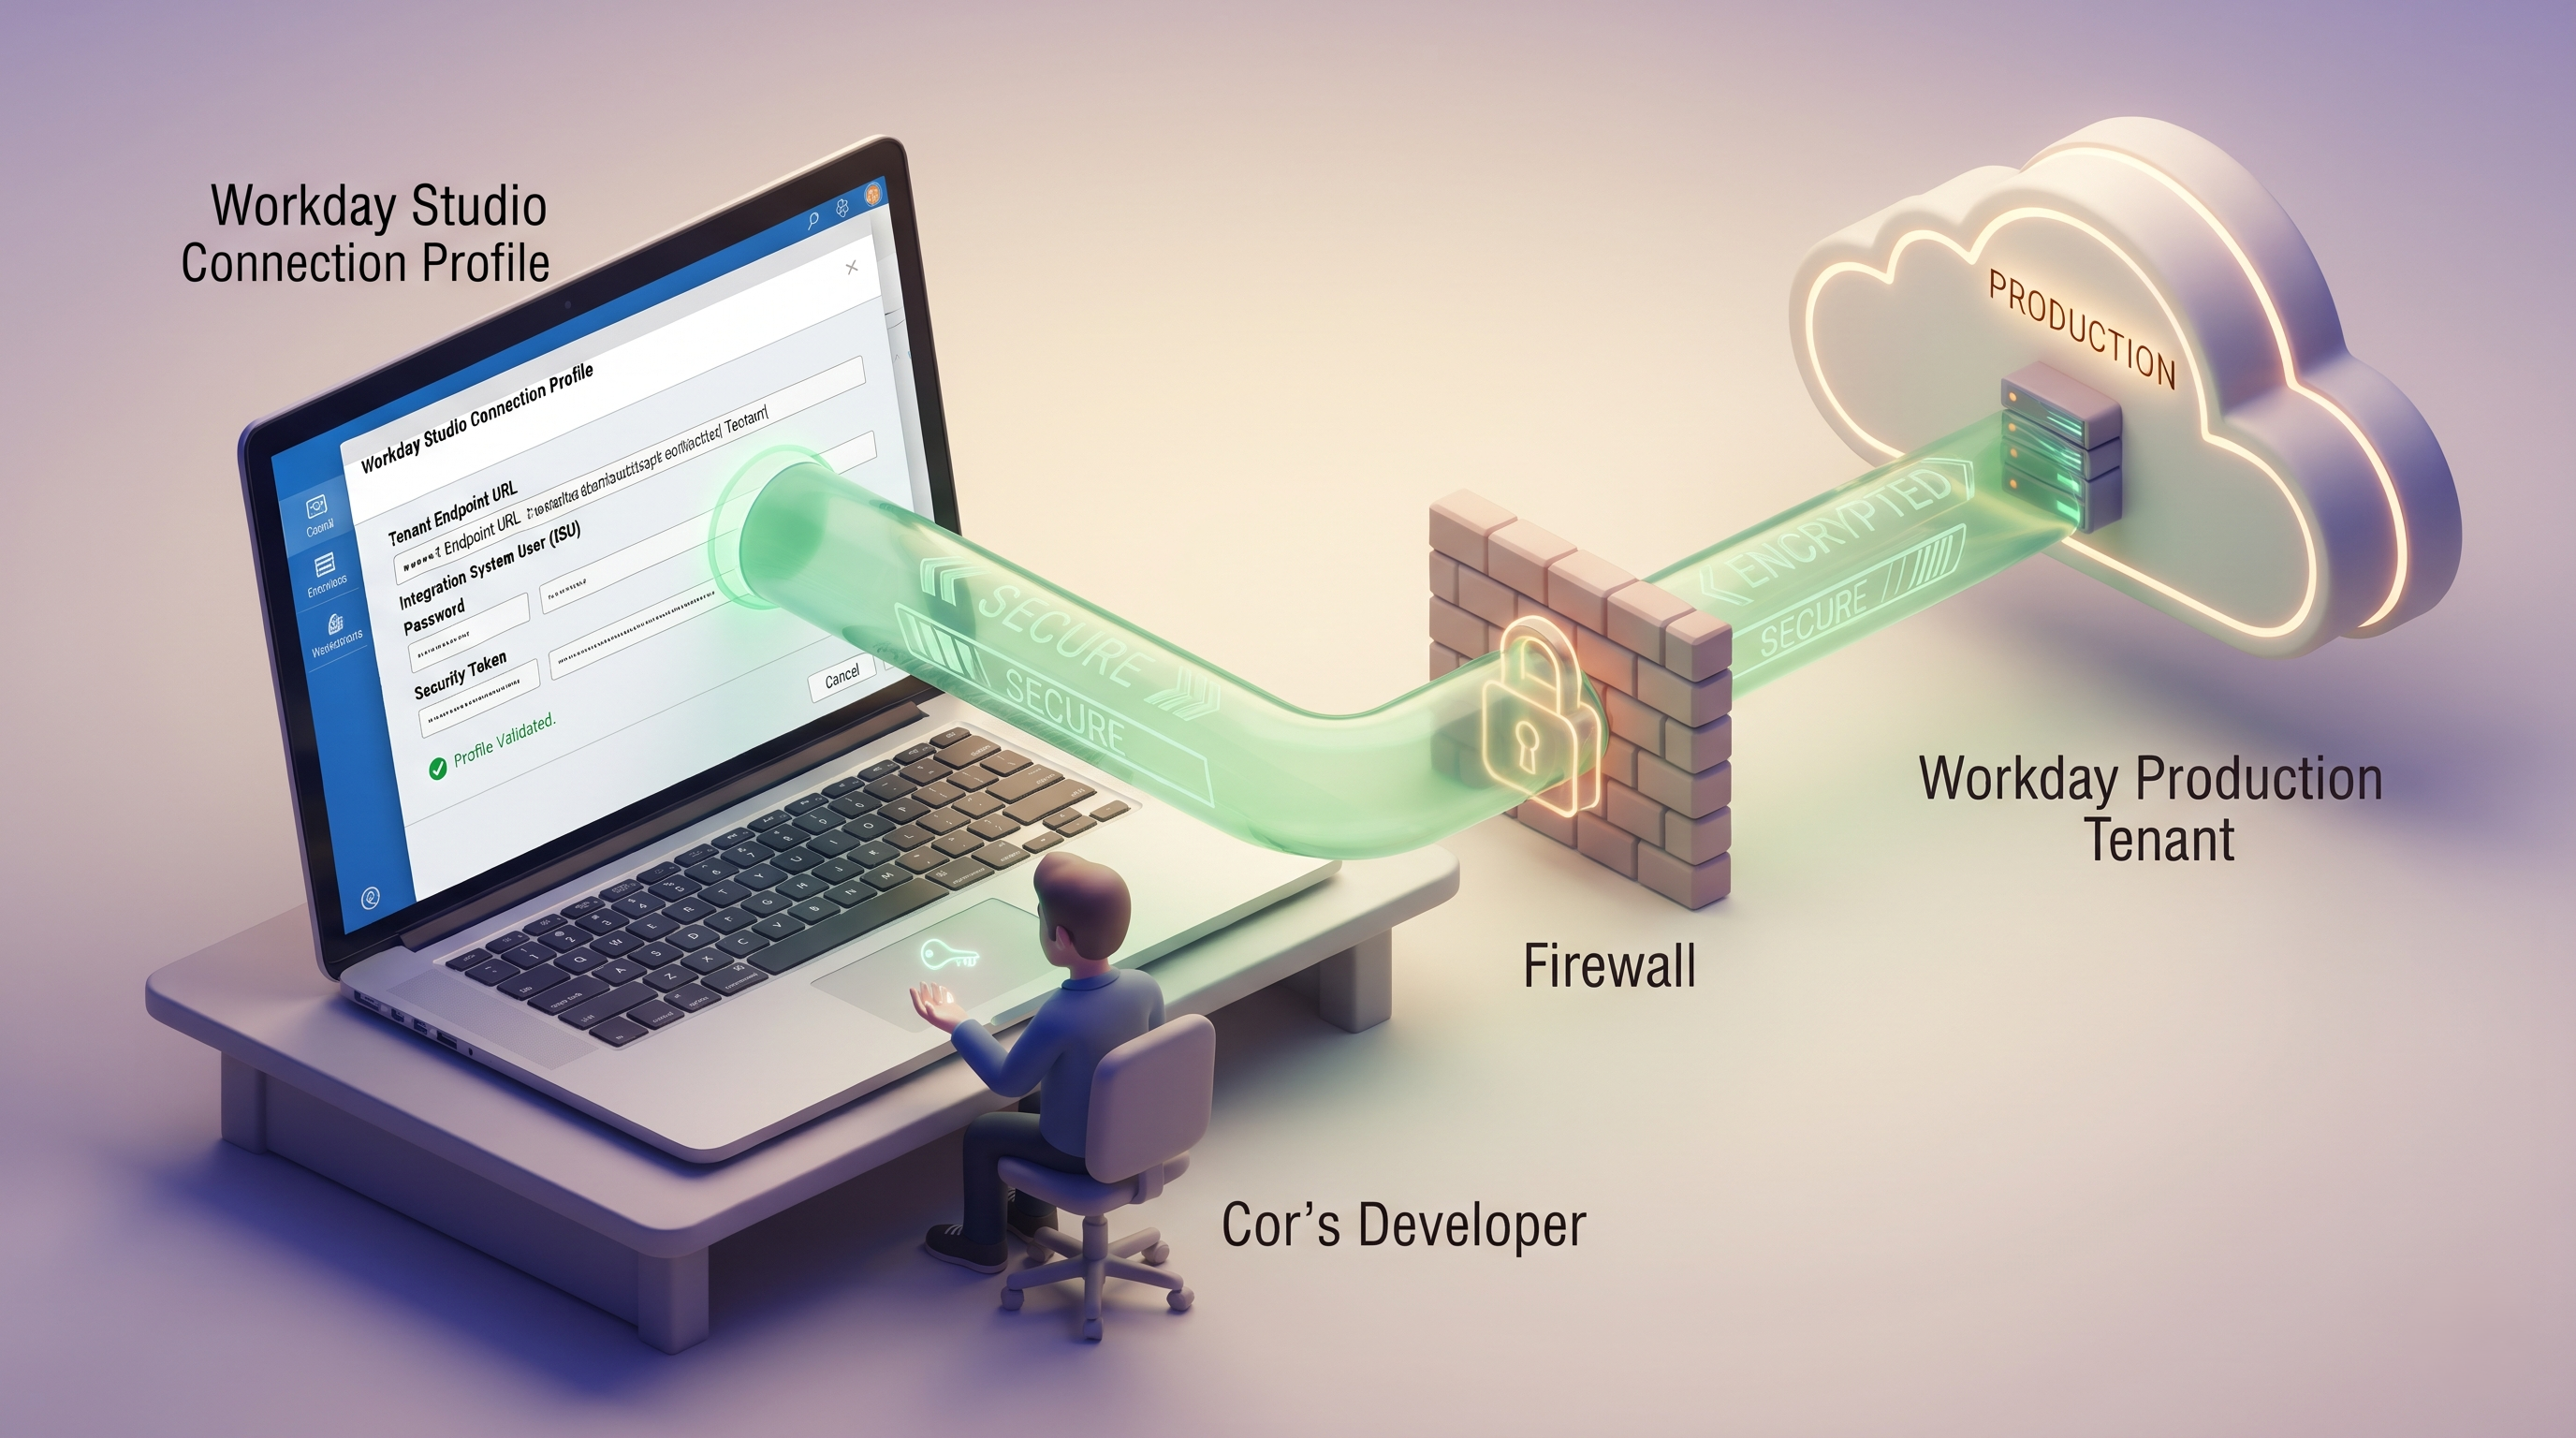
Workday Studio doesn't operate in isolation; it needs secure, authenticated pathways to communicate with your Workday production or sandbox tenants. To get to this connected state, you will need to take coordinated actions inside of your local IDE workspace and your cloud Workday tenant interface.
Setting Up Tenant Access and User Accounts
Your Workday tenant must be properly configured to enable Workday Studio to deploy integration assemblies, obtain XML schemas, and run remote debugging sessions. System administrators need to ensure that the tenant settings allow external IDE connections. In particular, administrators can check the required access permissions to the source code by going to the integration setup tasks in Workday so that the deployment packages can be inspected and validated.
Furthermore, the security domains that control integration build, configuration, debugging, and event launching should be assigned to an appropriate Integration System User (ISU). Do not use the personal administrator login for routine deployments to the integration. Instead, create dedicated service accounts with tightly scoped security policies that provide only the privileges needed to manage integration events and execute web services.
Creating Local Connection Profiles
In Workday Studio, connection management connects your development projects directly to the cloud tenant endpoints. When you create a workspace or configure a new project connection, you must provide the correct Workday Web Services (WWS) endpoint URL, tenant name, username, and password for your authentication profile.
Connection properties are the link between your local canvas and the remote cloud database. If you have multiple environments make sure to separate connections. Typically developers have separate connection profiles for sandbox tenants, preview tenants and production tenants. And never try any deployment migrations to production-level domains without extensive testing of your connection parameters in a sandbox or preview environment.
Network Routing, Firewalls and Proxy Considerations
Installation and connectivity failures are often caused by infrastructure issues, since Workday Studio is an on-premises application that communicates across corporate networks to cloud-hosted Workday data centers.
Corporate Firewalls and Proxies
Many enterprise networks have strict perimeter security policies, outbound firewall filtering and explicit HTTPS proxy servers. If your workstation is behind a corporate proxy or a restrictive firewall, Workday Studio and its embedded Java runtime might not initially be able to communicate with virtual Workday web services or authentication servers.
And your corporate IT department has to be involved to either fix or prevent these connectivity blocks before configuration. Network administrators should allow outgoing traffic through the firewall to the official Workday domains and educational repositories (including any required allowlists for workdayeducation.com and associated cloud endpoints). If your organization inspects SSL traffic using internal proxy certificates, you must import those root certificates explicitly into your local Java trust store so that Workday Studio can perform secure TLS handshakes without throwing certificate validation exceptions.
Virtual Private Network (VPN) Management
Virtual Private Networks are commonly used by consultants and internal developers to securely connect to corporate networks. Corporate VPN tunnels can, however, conflict with the direct routing requirements of Workday Studio, and you may encounter connection timeouts when attempting to connect with training or client sandbox tenants. In the event that you are consistently getting connectivity failures when testing your connection, try to temporarily disable your active VPN connection or connect via an unrestricted network access point, if allowed by your corporate security policies. The last roadblock to a fully functioning development environment is clean, unencumbered DNS resolution and direct HTTPS routing.
Verifying Your Installation with a Sample Project
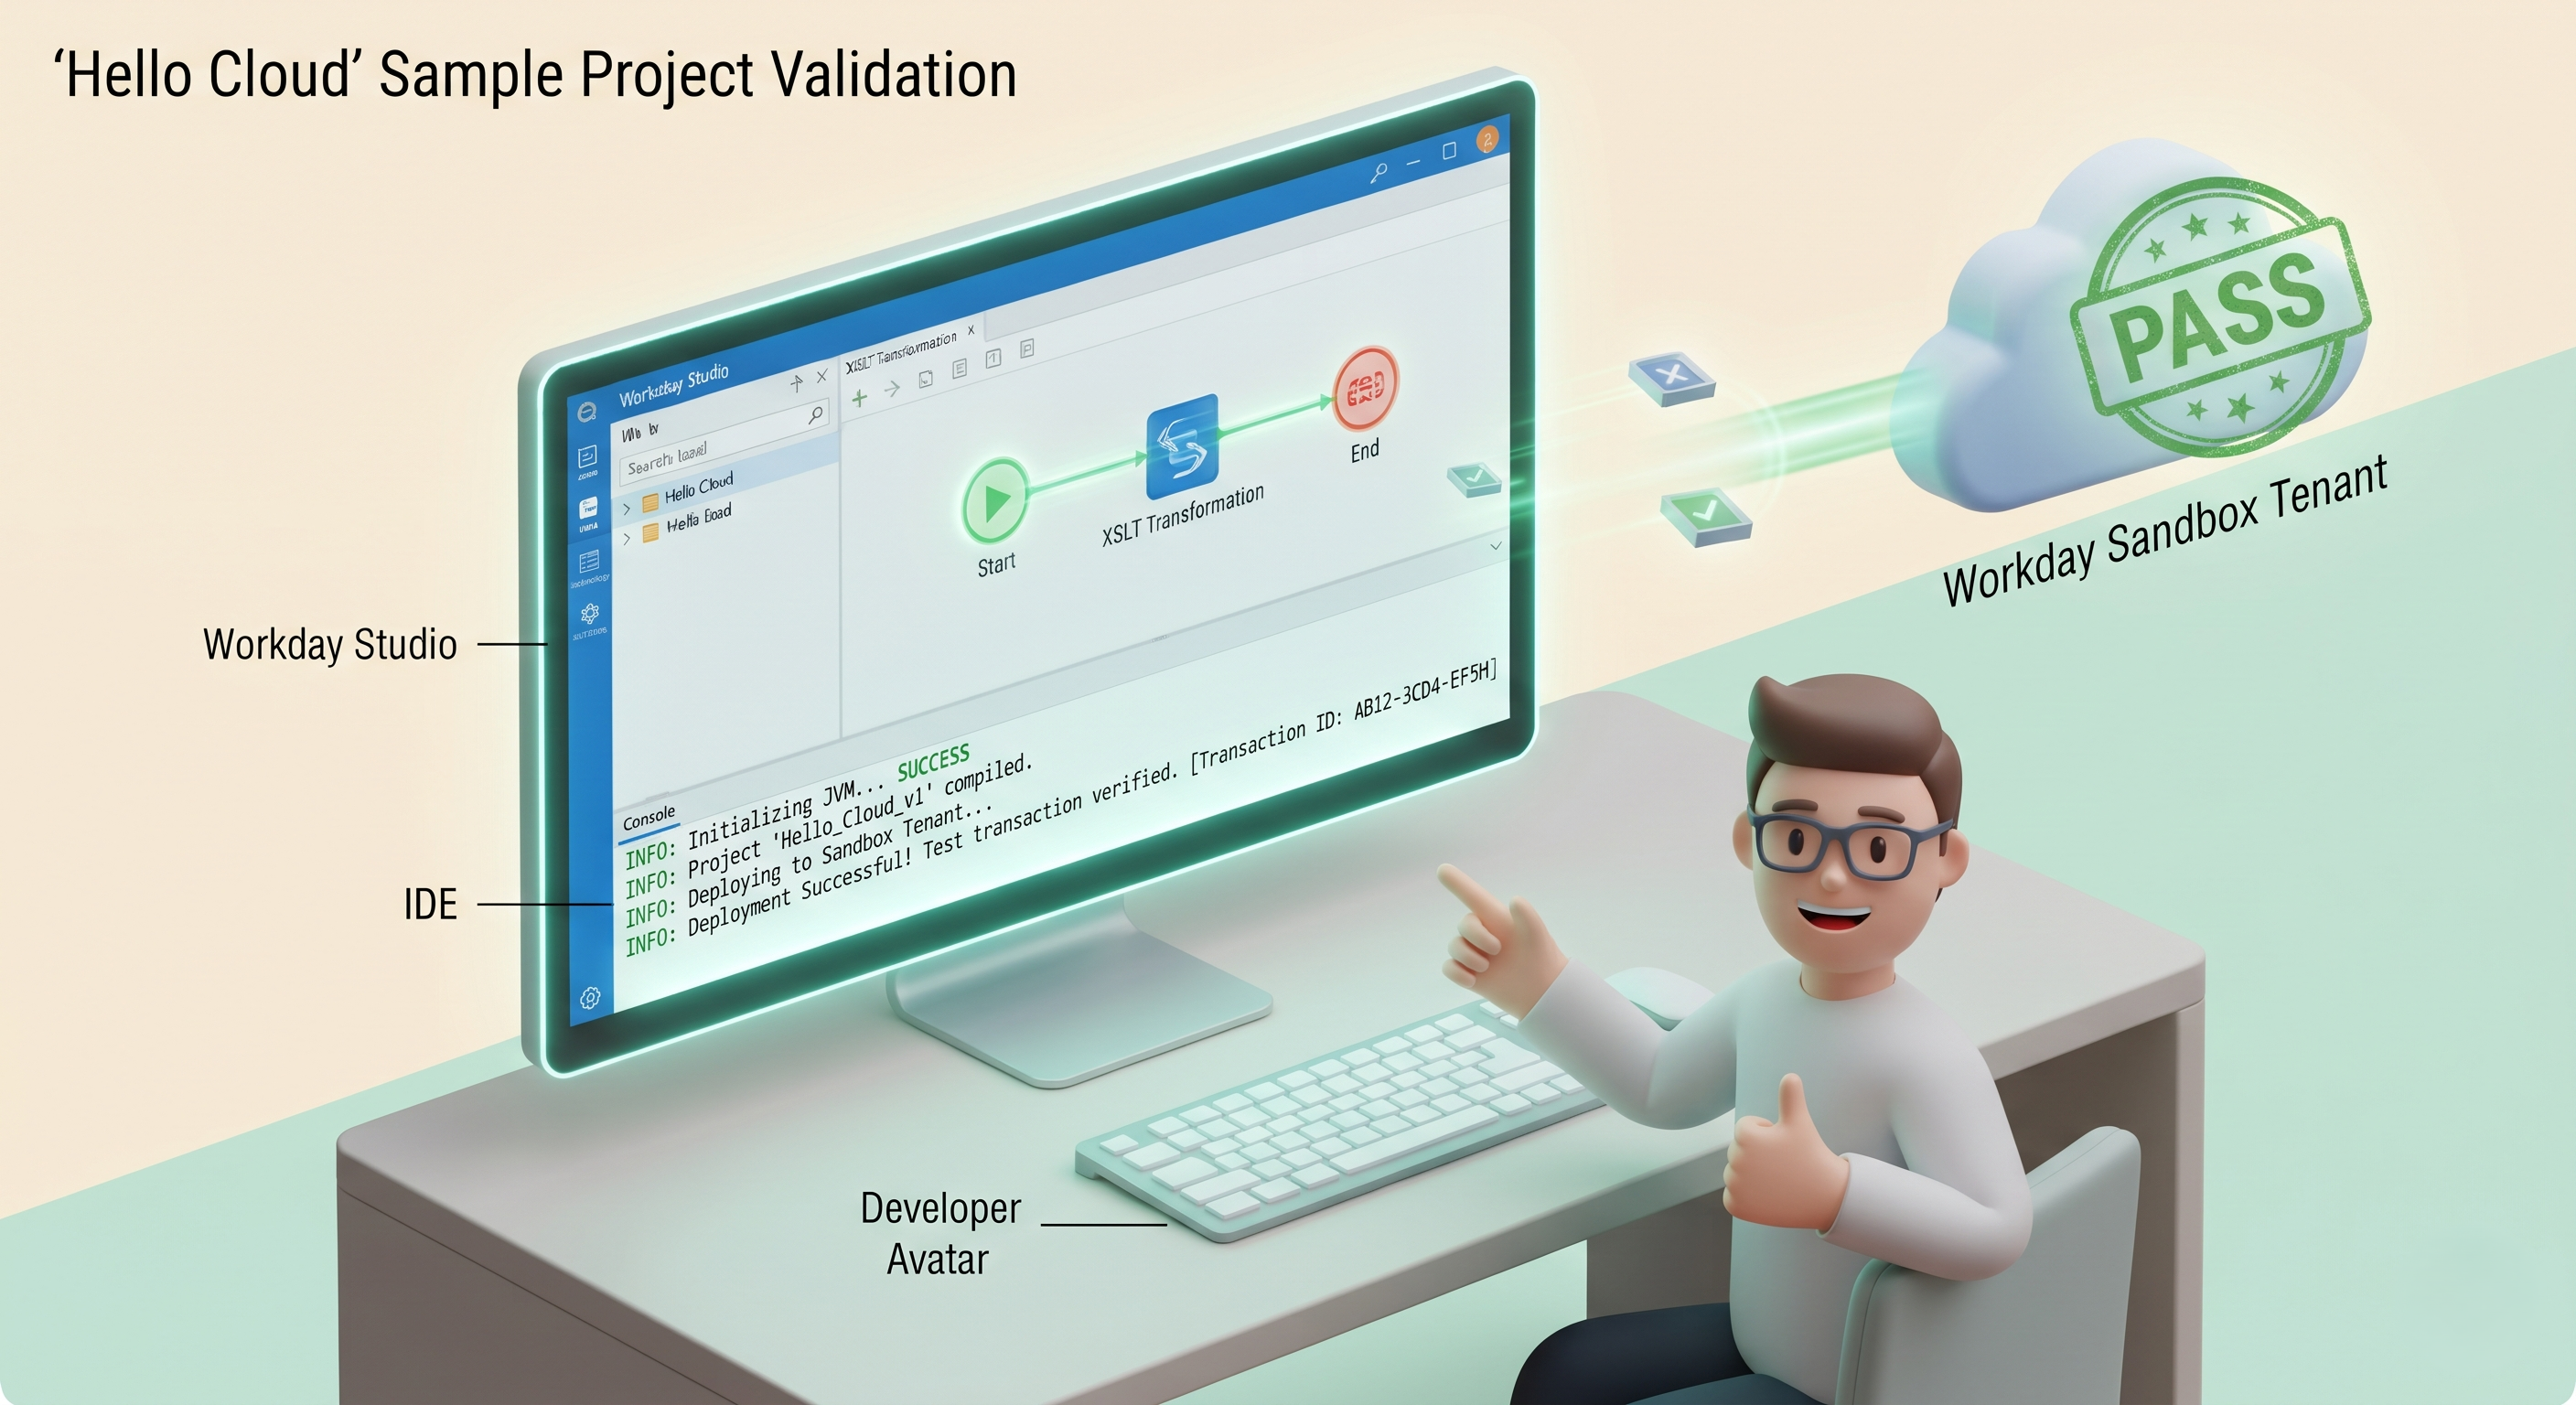
After you have followed the installation wizard, established your workspace, configured your Java runtimes as per the specifications, and checked your network connectivity, it is time to run a definitive validation test to ensure that your environment is fully functional.
Importing and Deploying the Sample Project Into
The industry standard for validating a new Workday Studio installation is to deploy a sample integration project. This sample project is commonly referred to as the “Hello Cloud” sample project included in official training materials.
In Workday Studio, import the sample project archive into your active workspace using the project import wizard. The sample project contains a ready-made assembly line, basic routing components and common transformation logic to test your local compilation engine and cloud connectivity at the same time.
Look at the Project Structure of the imported project in the project explorer view. Open the integration assembly file and view the visual canvas, making sure the icons are rendering correctly and that the properties panes are populating without error. Then, change the target connection properties of the project to your test tenant and provide your integration system user credentials.
Testing and Verify Connectivity
Right click on sample project and initiate a test run or local debug. In the console output window you should see initialisation logs which indicate the Java Virtual Machine successfully compiles the assembly and sends requests to the Workday tenant endpoint.
Check the integration event logs in your Workday tenant to verify that the test transaction was successfully received, processed, and completed. If it runs successfully then you have verified that your OS permissions, Java compiler parameters, local workspace layout, network routing rules and cloud authentication profiles are all in sync correctly.
With the successful installation, configuration, and validation of your environment, you are now ready to begin designing, developing, and deploying enterprise-grade integration solutions with Workday Studio.
Having already installed and configured the Workday studio and having validated the installation, it will be easier for you to start designing, developing, and implementing enterprise integration solutions using the Workday Studio. To advance in your career there are certain steps that you can take like enrolling in the Workday Studio Course and other Workday Studio Courses.