
Till now, we people have scaled the instances in a manual way. But in real-time projects, there may be a case where there are frequent ups and downs of these instances. So it's a difficult task to manually changes these instances. So to overcome these kinds of problems, we people depend on automation. And AWS performs this kind of automation through AWS Automobiling.
What is AWS Autoscaling?
AWS auto-scaling is a service, that automatically monitors and adjusts the compute resources. This is responsible for maintaining the application performance hosted in an AWS public Cloud. AWS auto-scaling automatically discovers and tracks the performance of the scalable resource. These resources include the Elastic Compute Cloud (EC2), the autoscaling group, Amazon Elastic Container Service(ECS). Based on the requirement, AWS auto-scaling service can automatically scale those resources. With AWS auto-scaling service, you can configure one unified scaling policy per application resource. This includes the AWS Cloud formation stack (or) a set of resource tags. With AWS autoscaling, it is easy to set up the application scaling for multiple resources across multiple services in minutes.
AWS autoscaling makes the scaling simple and allows you to optimize the performance, cost (or) balance between them. Moreover, With AWS autoscaling, your applications always have the right sources at the right time.
So we will now see the auto-scaling manually.
step - 1 :
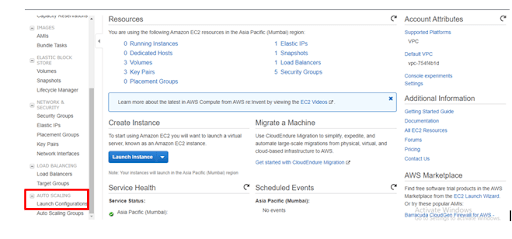
Login to your AWS account, navigate to Auto Scaling and click on Launch Configurations
step - 2 :
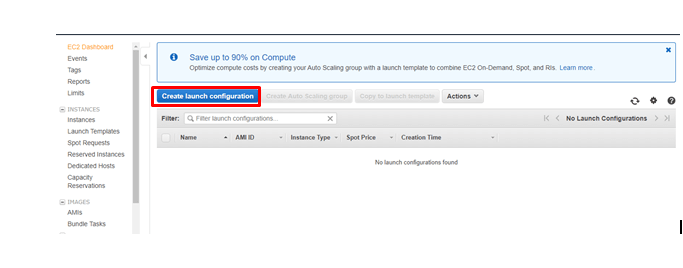
Click on Create Launch Configuration
step - 3 :
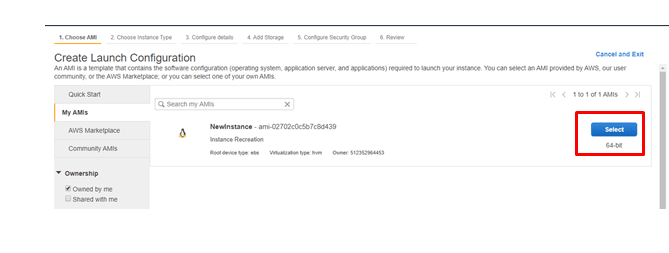
Select the AMI. (Here, in this case, I'm selecting the image that I have created before)
step- 4:
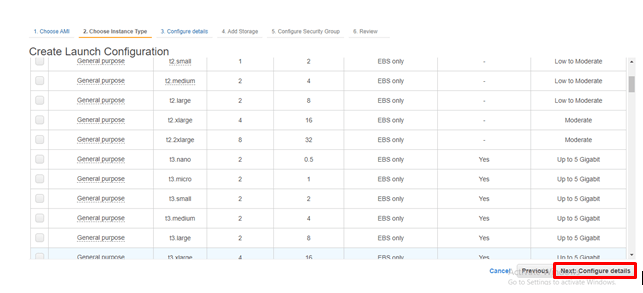
Click on the configure details.
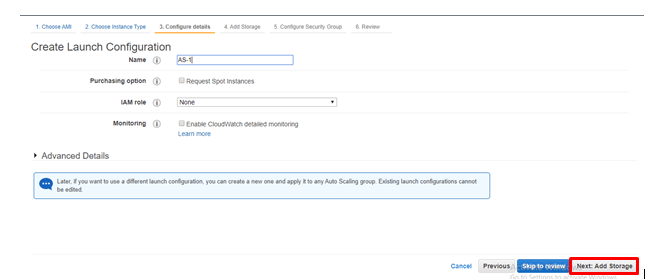
step - 5 :
Provide the configuration name and click on Add storage
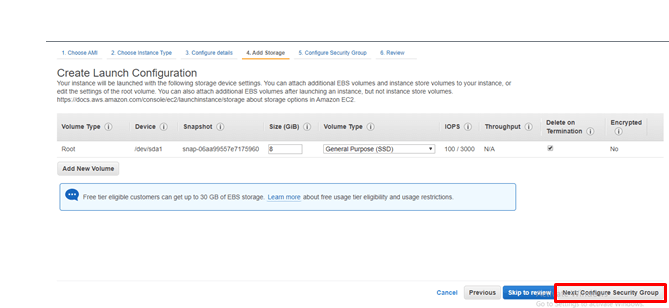
step - 6:
Click on Configure Security Group.
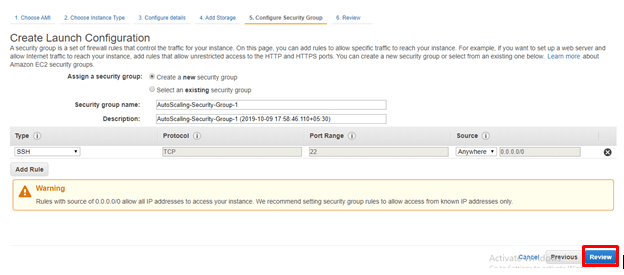
step - 7:
Click on Review
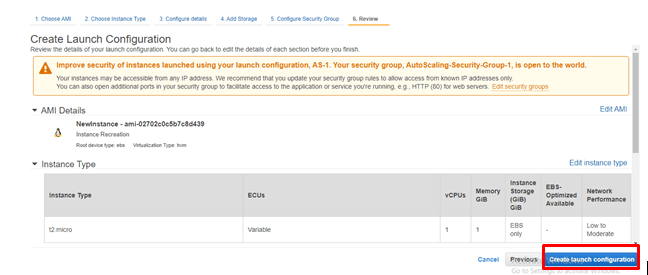
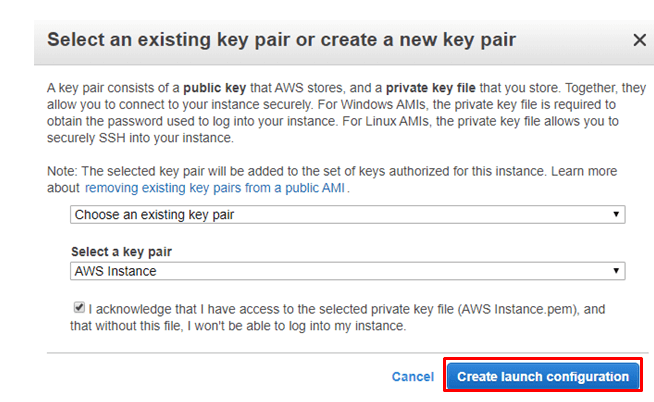
Step - 8:
click on create launch Configuration
step - 9:
Accept the license agreement.
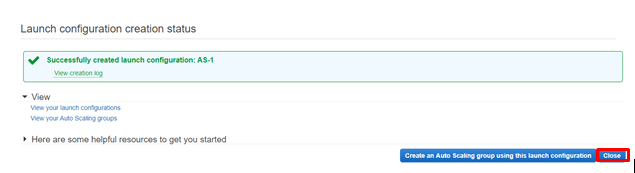
step - 10:
Click on Close
step-11:
Now navigate to Auto Scaling Groups
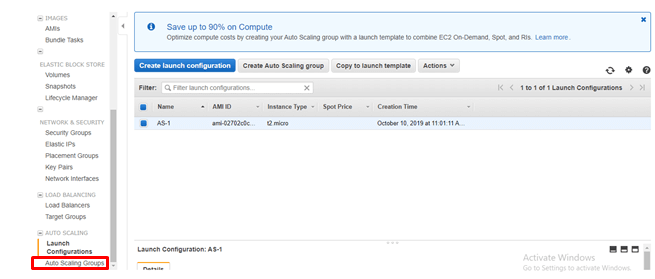
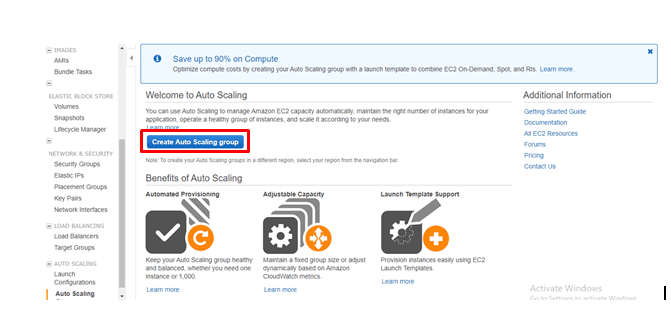
step - 12:
Click on Create Auto Scaling Group
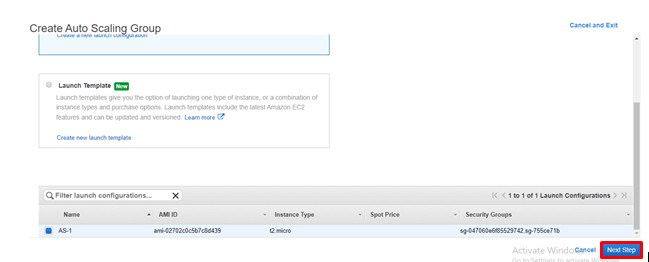
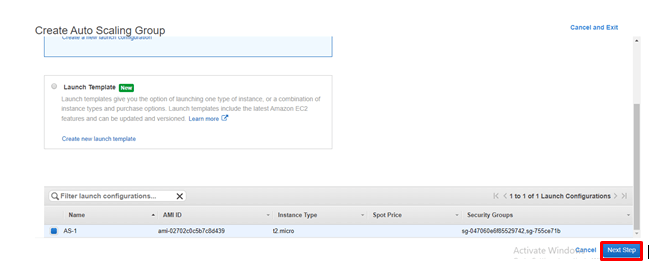
step - 13:
select the template that you have created previously and click on Next Step.
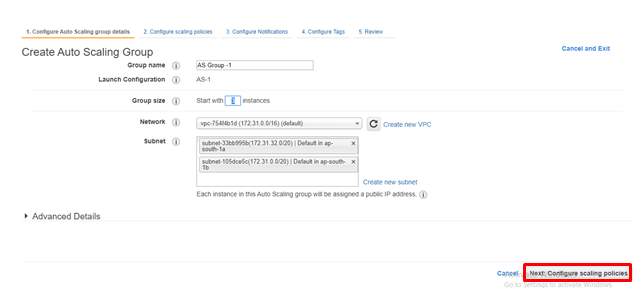
step - 14:
Provide any group name, number of instances and subnets and click on configuring scaling policies
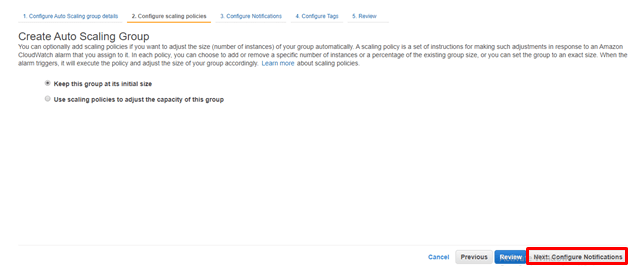
step -15:
As of now, I Would like to move with the default setting. later, ill again show you the customized scaling policies. So click on configure Notification.
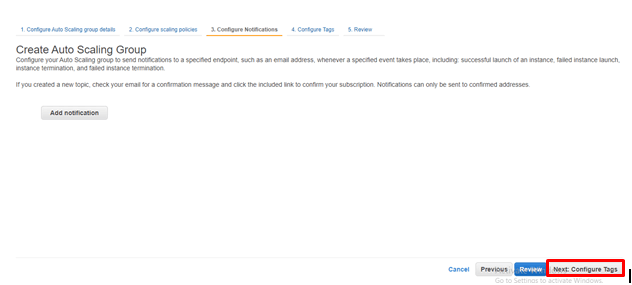
step -16:
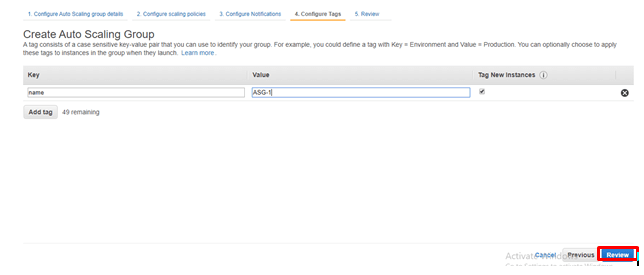
click on Configure Tags
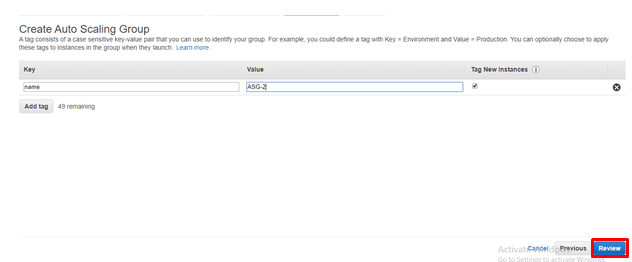
step -17:
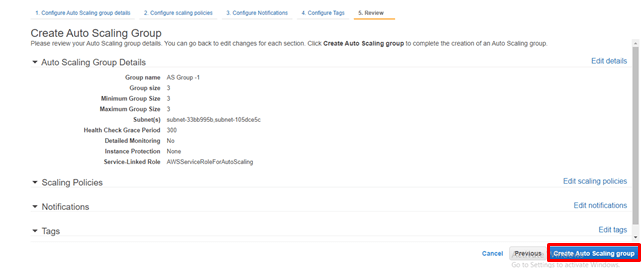
Provide the key-value pair and click on Review
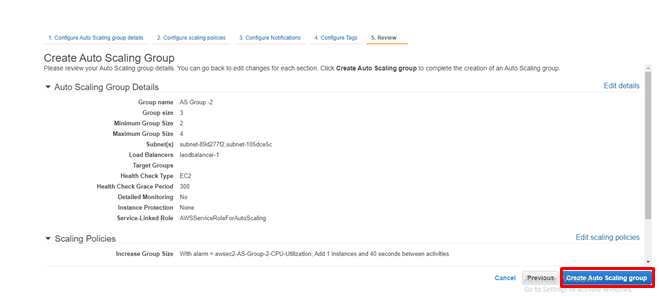
step - 18:
Click on Create Auto Scaling Group.
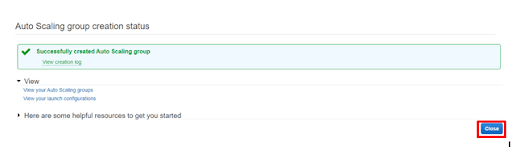
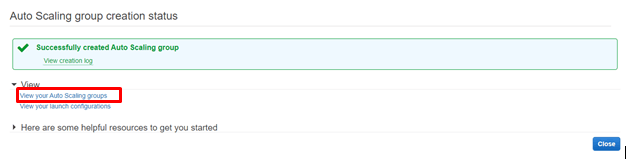
step -19:
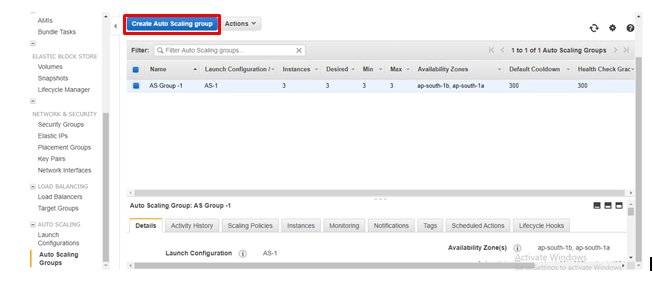
Click on Close.
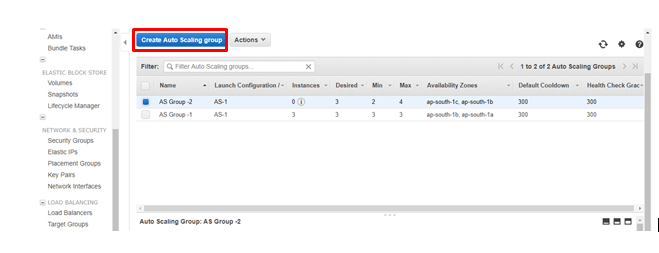
So once you go back to auto-scaling groups, you will be entering into the following screen
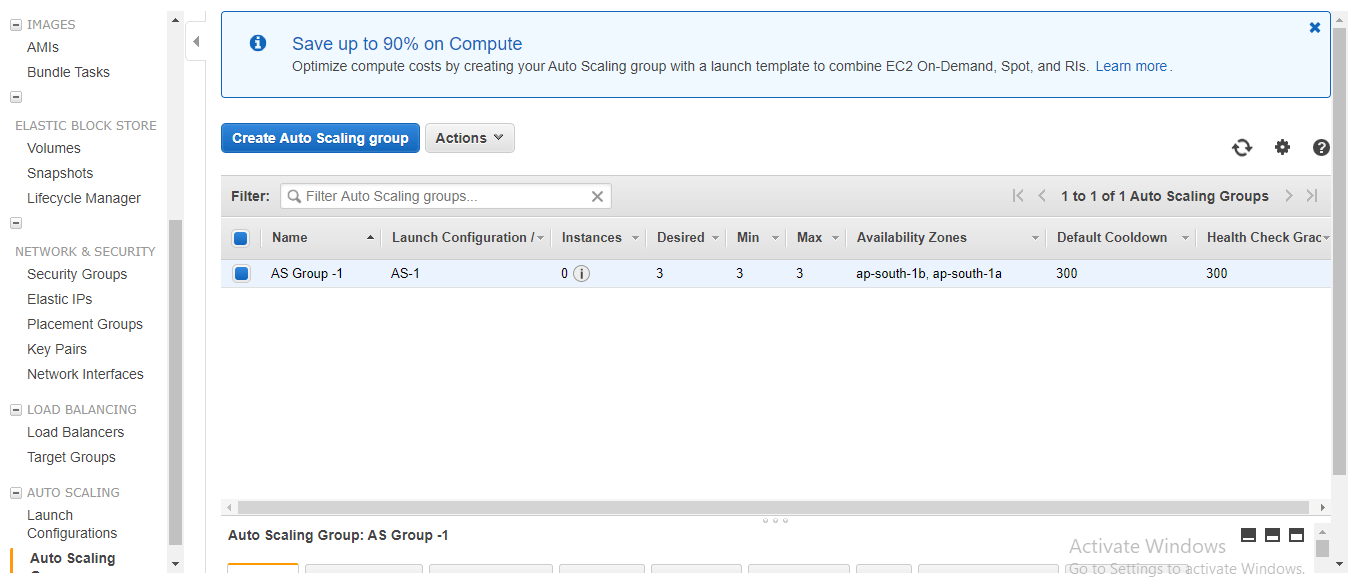
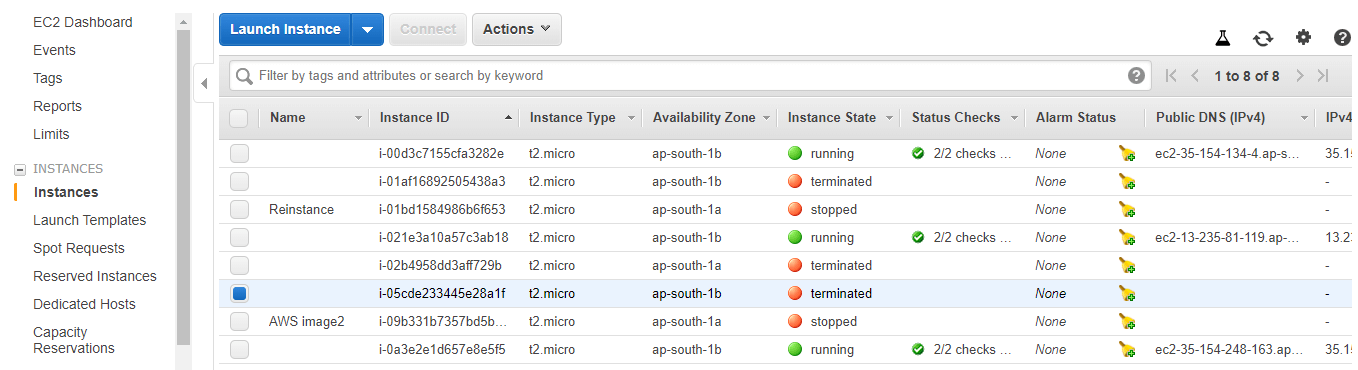
So now navigate your pointer to instances tab. And you will be entering into the following screen
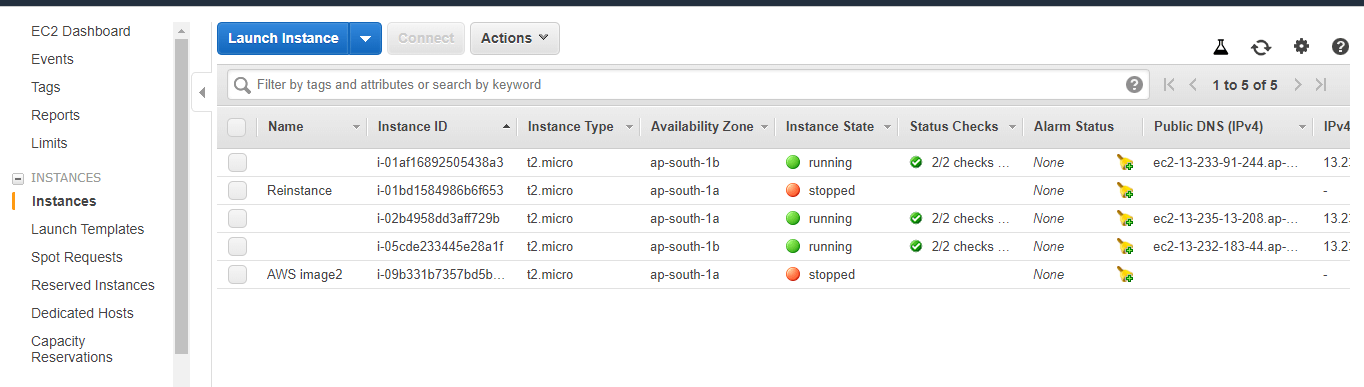
In the above screen, do you know why three instances were running?
This is because in Step -14 we have specified the number of instances as 3. So it automatically creates and runs the three instances.
So I hope, three instances were running in your account. And now I Would like to add the load balancer
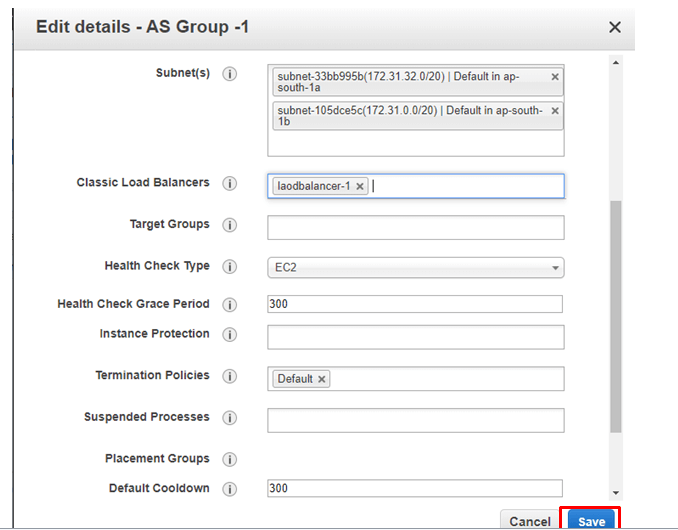
Navigate once again to auto-scaling groups and click on Edit from the Actions.
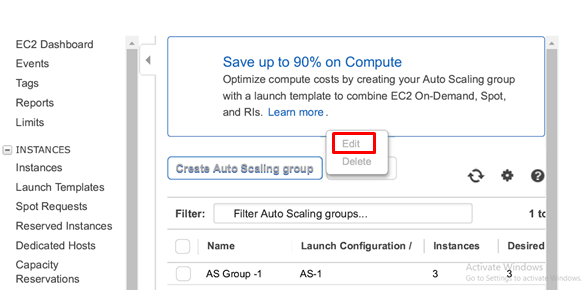
Here navigate to classic Load balancers and select the load balancer that you have created previously and click on save
So once you see all the instances were running, copy the Load balances address and paste in the browser. Then you will be finding the change in the IP Address. If you go so then you were successful
Click the link to know the Mystery of AWS Implementation on Blockchain
And in Step -15 we people have chosen the default scaling group. So now, we will use the scale policies.
step -1:
Navigate to Auto Scaling and click on Auto Scaling Groups and click on Create on Create Auto Scaling Group
step -2:
Select the load balancer and click on Next Step
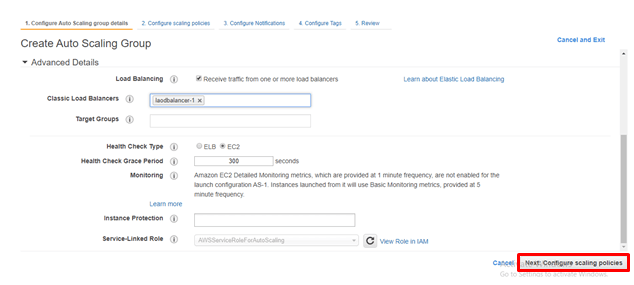
step - 3:
Provide the group name, group size as well as the subnets. And navigate to Advanced details and select receive traffic from one (or) more load balancers. Then provide the classic Load balancer name and click on Configure Scaling policies.
step - 4:
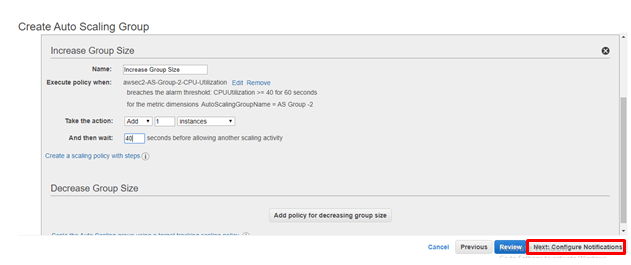
Select Use scaling policies to adjust the capacity of this group. And provide a scale between 2 and 4. And then click on create a scaling policy and then click on Add new alarm. Then create the alarm with the features as shown below.

step -5 :
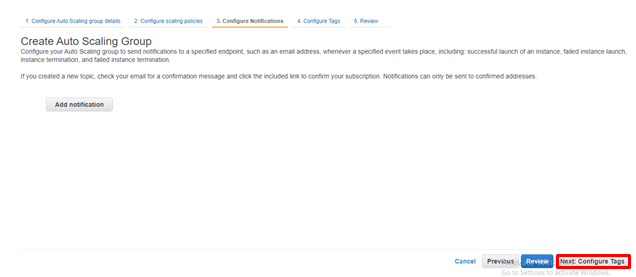
Provide the Increase group size as follows and then click on Configure Notifications.
step -6:
Click on Configure Tags
step - 7:
Provide the key-value pair and click on Review
step-8:
Click on Create Auto Scaling Group
step - 9:
Click on View your Auto-scaling Groups.
Then you will be entering into the following screen
So now go to your instances and you can see the screen as follows
So now select any one of the instances, and login into that instance, using putty session. Then login to the root and then provide top. Then you can see the screen as follows
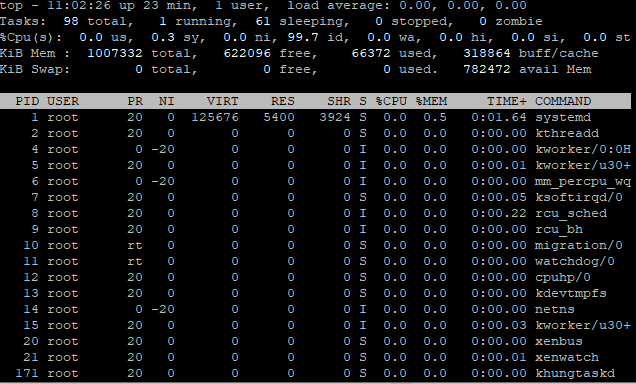
And now in the terminal, type the command as follows
Then once again run the top command, then you see the screen as follows
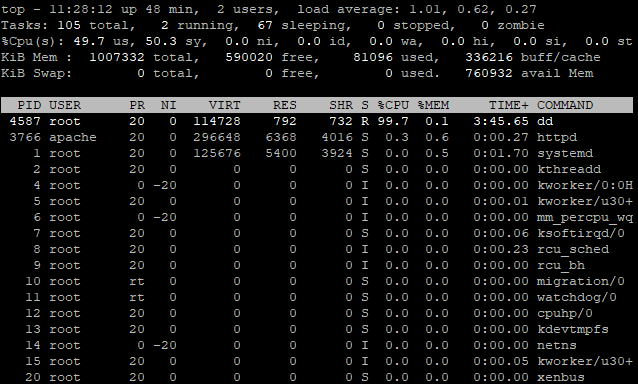
So if you observe the screenshots clearly, you can see the change in ideal time-form 99.7 to 0.0. It means the system is under pressure.
So if you go back to instances, and reload the instance, you can see 4 instances were running as shown below
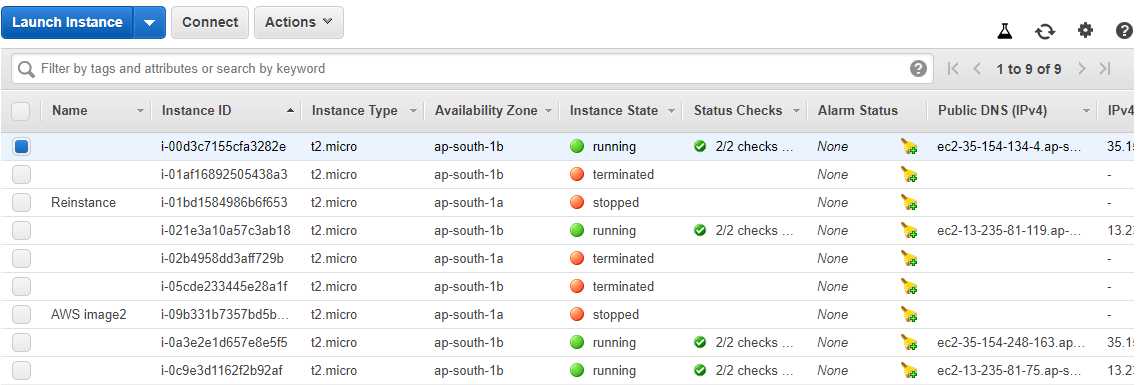
It means according to the load, the instances running count, go on updating. So the Auto-scaling works perfectly.
And likewise, we can also create some scaling policy using several other operators like <= , == and so on.
And also get the practical explanation of these operators through Amazon Web Services Training
Benefits Auto-scaling:
AWS auto-scaling has the following benefits.
Set up Scaling quickly
AWS auto-scaling lets you set the target utilization levels for multiple resources in a single intuitive interface. Here you can quickly see the average utilization of all your scalable resources. Moreover, it does not require to navigate to other consoles.
Make Smart Scaling Decisions:
AWS autoscaling, lets you build the scaling plan that automates how groups of different resources, responds to the changes in demand. Besides, you can optimize the cost, availability (or) balance of both. Moreover, AWS autoscaling automatically creates all the scaling policies. So based on the performance, AWS autoscaling automatically creates all the scaling policies and sets the target. AWS autoscaling monitors your application and automatically add (or) removes the capacity from your resource groups in real-time.
Automatically maintain performance:
Using the AWS auto-scaling, you can maintain the optimal application performance and availability. AWS auto-scaling continuously monitors your applications. This platform makes sure that they were operating at the desired platform levels. Moreover, AWS auto-scaling automatically increases the capacity of the constrained resource.
PAY For only used:
AWS auto-scaling can help you optimize your utilization and cost efficiencies while consuming the AWS services. It means this platform generates the bill for your used resources. So whenever, the demand drops, AWS auto-scaling will remove any excess resource capacity. Since the AWS autoscaling is free to use, you can easily optimize the AWS environment cost.